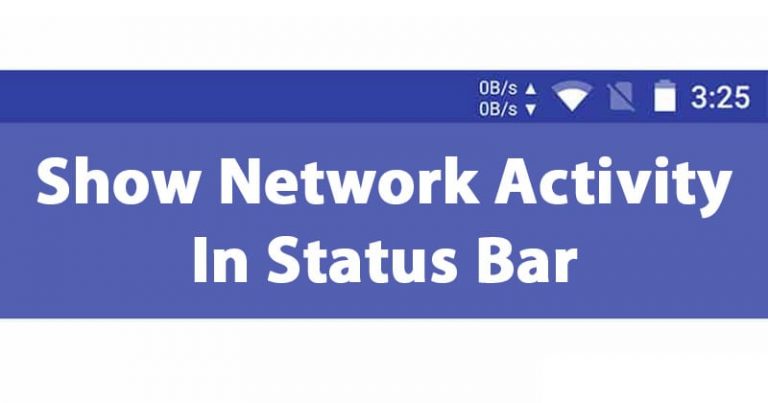

Learn how to Show Network Activity in Status Bar on Android using one simple Android app that will let you know each activity of your network. So have a look at complete guide discussed below to show network activity in Status Bar on Android.
Every different Android device manufacturer implemented wholly different to tweaks and amendments to the OS. They can as their totally custom UI and make the full Android device feel like it is another different OS. While some of the manufacturers don’t do anything and sell the totally stock Android devices only. Talking about the motive of this article, we shall say that some of the devices may contain Internet reader on the status bar while others might not die to the manufacturer’s concepts. This internet reader helps the users to keep the check on the data consumption at every instant no matter which app they are using. This makes it much easier for them to utilize their internet data properly and knowingly. For the devices that are not having the internet reader on their Android status bar, there’s a method to which it could be assigned. Here in this article, we have written about the method by which internet reader or the network activity meter can be added to any Android device. If you wish to know about the method then read the article till the end!
Also Read: Best Android Hacks 2017
How to Show Network Activity in Status Bar on Android
The method is quite simple and easy and you just need to download and install one Android app that will help you to show network activity in the status bar on your Android. So follow the below steps to proceed.
Also Read: Recover WiFi Passwords Using Android Phone
Step 1. The process to activate network reader on the status bar is extremely easy as we will be using only a single app that will perform all these functions automatically. The app that we are going to use is Internet Speed Meter app. This app is available for free of cost in the Google Play store so any user can try this app at any time.

Step 2. Although the app installed the internet reader on the status bar by itself but it places it in the middle of the screen. This could not be a nice position for the users. The app being highly customizable, you can change almost every aspect of the reader that is shown in the status bar. Anything from changing the position to changing the data limit, speed or transfer units etc.
Step 3. To make changes to the network and internet reader on the status bar, go to the Internet Speed Meter app. From there head towards the settings by coconut on the great icon. Inside the settings the widget position, appearance and the other aspects like hidden while locked can be all set thigh easy options.

Step 4. Why we choose this app is because it is the lot more stable and it doesn’t affect any running tasks or the system functions. Although if you don’t like this app then there are numerous other apps of this category that can provide you with status bar network reader.
Another thing that you need to know is that the Internet Speed Meter app will remain running all of the time on the background by matter if you have closed it all. This will also consume the extra battery life so depending on these things your device may perform slightly differently. There won’t be any major fluctuations rather minute changes will be there!
Also Read: Recover Deleted Photos/Videos From Android
Using nPerf:
nPerf is more than a simple speed test tool. This is one of the best tools which will show you the fullest mobile connection quality. You will get streaming, browsing, downloading and uploading speed using nPerf.
Step 1. First of all, download and install nPerf from Google Play Store and launch the app.
Step 2. The app will take few seconds to start because it downloads few data that are needed to complete the speed test.

Step 3. Now you will see the screen like below, here you need to tap on “Start Test” to start testing your internet speed.

Step 4. Once the speed test completes, it will show you the Download and upload speed along with Latency.

Step 5. Tap on the three lines on the top, there click on settings and under settings panel you can do lots of customizations.

Step 6. Now you will see the speed indicator at the status bar. You can also see the speed indicator at the notification panel, simply swipe down the notification panel and you will see the internet speed.

On Rooted Device
Well, if you have a rooted Android smartphone, then you need to use an Xposed Module to add the network speed indicator on the Status Bar. Below, we have shared a working tutorial on how to show network speed in rooted Android’s Status bar.
Step 1. On your rooted Android device, install Xposed Installer. You can follow this guide to install Xposed installer on Android.

Step 2. Once installed, open the Xposed installer and download the module ‘Xposed Network Speed Indicator‘
Step 3. Now, enable the module in the Xposed installer and launch the app.

Step 4. For customization, you can go through the Network Speed Indicator’s settings.
That’s it, now press the home button and you will see the network upload and download speed on your Status Bar.
Above article have successfully provided you with the easy method to install the network activity reflector on the status bar of any Android device. We hope that you will get the benefits out of this method without any issues. Although if you encounter any issues with the method then we can help you solve it out, just describe your issues inside the comments!


